-
Markets
Our extensive design library will unlock limitless possibilities for your brand packaging with its incredible range of innovative ideas! Step inside an oasis of creativity and innovation where inspiration abounds at every corner. Explore numerous captivating designs ranging from minimalist to bold, traditional to modern, and everything in between. Browse Library

Get creative and transform the packaging into art that represents both your brand and customers! Explore our gallary to get inspiration.
Start a Project -
Card
Stock

Partner with us for all your retail packaging needs and let us take your packaging to the next level! Contact us today to discuss your requirements.
Inquire More -
Design Templates
-
Popular
Items
Leading Items
Choose for our most ordered and trending box styles that are gaining popularity among brands and business owners to find their niche in retail competition.
-
Services
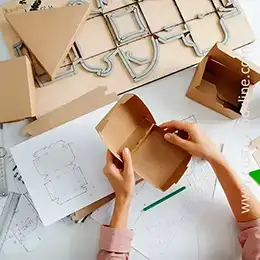

CAD Structures
Our innovative box structures for brand packaging feature unique designs that align with brand identity and product positioning.
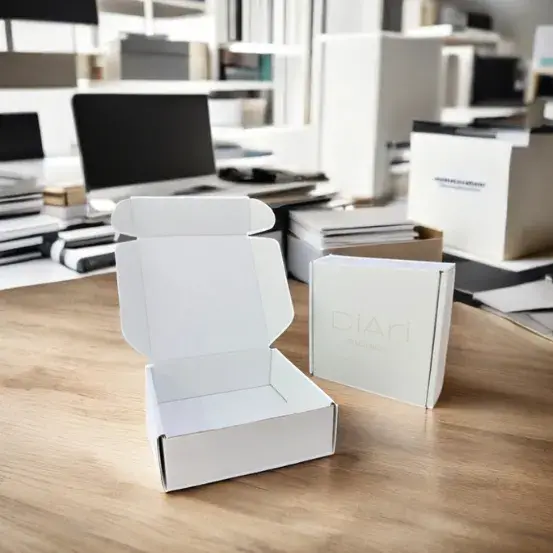
3D Visuals
3D mock-up enables evaluation of box design, structure, dimensions, graphics, and appearance for feasibility and functionality.
Prototypes, Samples
CAD prototypes can help assessing packaging feasibility, functionality, and aesthetics by designers, manufacturers, and clients.
CustomBoxline offers a comprehensive range of products and services to assist brands in validating and testing their product packaging, ensuring that the final product aligns with their specifications.
Templates & Dielines
Access downloadable design templates and effortlessly generate realistic 3D Mock-ups for your product using online powerful design tool.
Start Designing -
Accessories
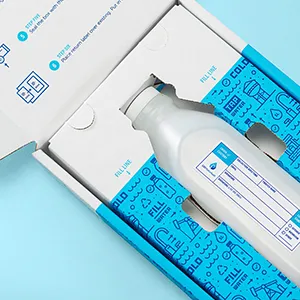
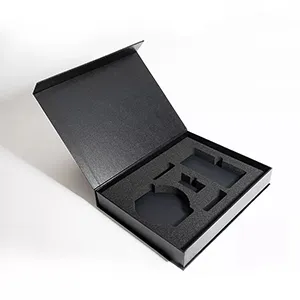
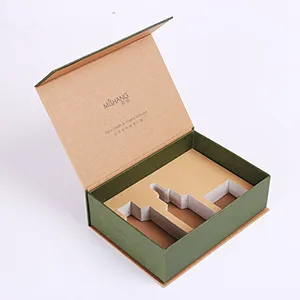
Die Cut Inserts
Durable Material for product protection and impactful unboxing experience.
Flexible Foam
Soft and flexible with excellent protection capabilities for fragile items.
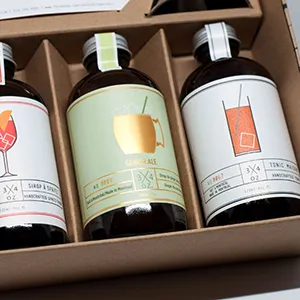
Packing Dividers
Create pockets/ compartments to organize and seperate products inside the box.
Flocked Foam
Upscale presentation, optimal support and high impact protection during transit.
- Trendings
-
Promotional
Promotional Products
Choose for our most ordered and trending box styles that are gaining popularity among brands and business owners to find their niche in retail competition.

- Products List
- Blog
Free Worldwide Delivery on All Orders
Welcome to CustomBoxline! Explore the full spectrum of our customized products and services!

-
-
Mon-Fri (9am to 6pm)
1-800-205-9972
-
Hello,
My Account
